Why Slow Leaks Are So Dangerous
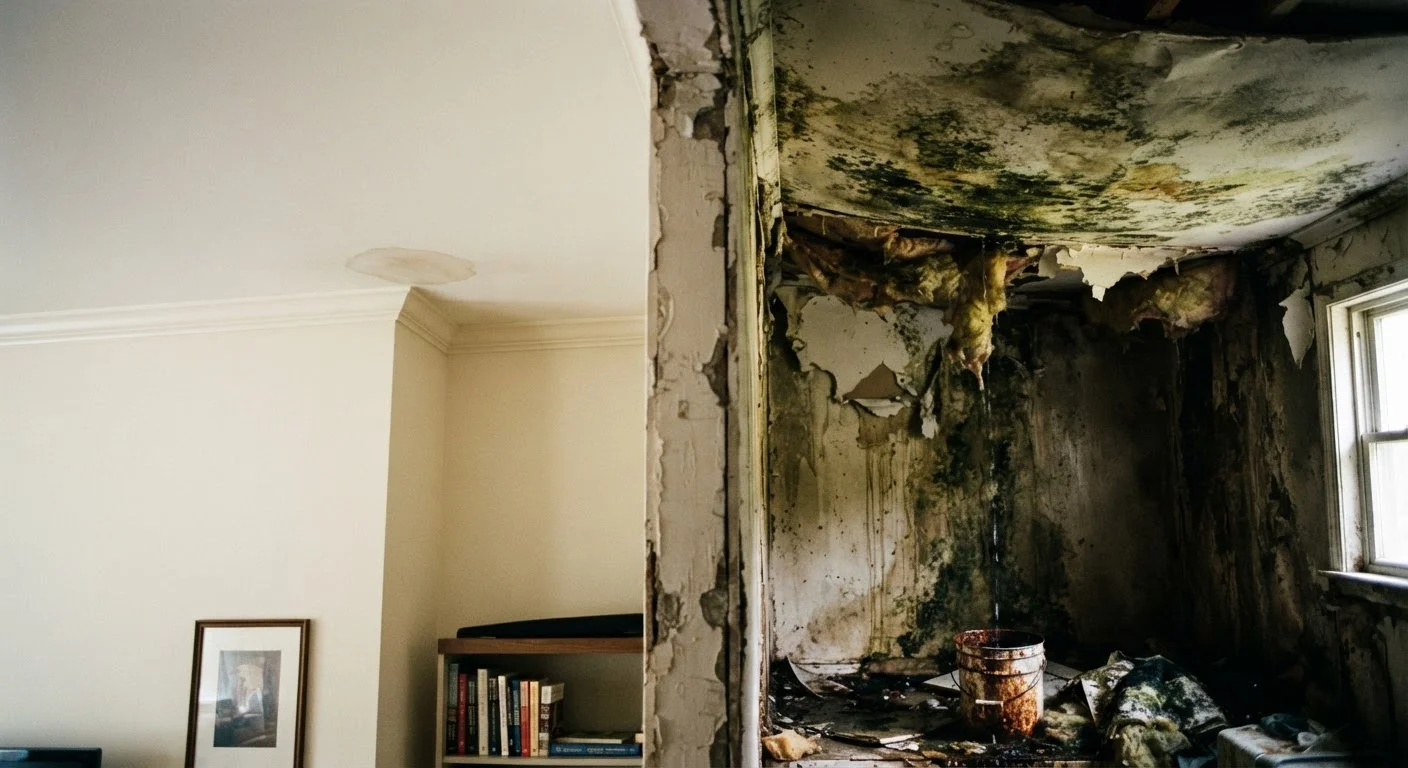
A pipe that bursts is hard to miss. A slow drip behind a wall or under a subfloor is a different story. Over weeks and months, even a minor leak can saturate insulation, warp wood framing, feed mold colonies, and quietly erode the structural integrity of your home - all while staying completely invisible from the surface.
The damage compounds quickly. As our article on deferred maintenance and costly neglect explains, small problems left unaddressed rarely stay small. A leak that costs a few hundred dollars to fix today can become a mold remediation or subfloor replacement job costing thousands if caught late.
The good news: you don't need special equipment to find most leaks early. You need to know where to look and what signals to take seriously.
Mold Can Develop Within 24-48 Hours
In the right temperature and humidity conditions, mold can begin growing on wet building materials within 24 to 48 hours. If you find evidence of a long-standing leak - soft drywall, persistent musty odor, or visible dark spotting - do not disturb the area without understanding the extent of the problem first. A licensed professional can assess whether mold remediation is needed alongside the plumbing repair.
What You'll Need Before You Start
Gathering a few basic items before you begin will make the inspection faster and more thorough.
What you will need
Flashlight or phone torch
Illuminates dark areas under sinks, behind appliances, and inside cabinets where moisture collects.
Dry paper towels or tissue
Used to press against pipe joints and connections to detect very slow moisture that isn't yet dripping.
Moisture meter
Measures moisture content in drywall and wood to reveal hidden dampness behind finished surfaces.
Food dye or dye tablet
Dropped into the toilet tank to detect silent flapper leaks without disassembly.
Step-by-Step: How to Detect a Slow Leak
Work through these steps methodically. This inspection covers the most common leak sources in a typical home and takes under an hour for most people.
Check Your Water Meter for Hidden Flow
Turn off every faucet, appliance, and water-using device in your home - including the ice maker and irrigation system. Locate your water meter and write down the current reading. Wait 30-60 minutes without using any water, then check the meter again.
If the reading has changed, water is moving through your system somewhere. Many meters also have a small leak indicator dial (often a triangle or star shape) that rotates with even tiny flows - watch for movement while all fixtures are off.
Inspect Under Every Sink
Open the cabinet doors beneath each kitchen and bathroom sink. Use your flashlight to examine the supply lines (the braided hoses connecting the shutoff valves to the faucet) and the drain connections at the P-trap (the curved pipe section). Press a dry paper towel against each joint and fitting - even a slight damp transfer indicates a slow leak.
Also check the cabinet floor and the back wall of the cabinet for warping, discoloration, or a musty smell, which can signal that water has been collecting for some time.
Test Every Toilet for Silent Leaks
Remove the lid from the toilet tank and add 5-10 drops of food coloring or a dye tablet (available at hardware stores). Do not flush. Wait 15 minutes, then look into the toilet bowl. If color appears in the bowl without flushing, the flapper valve is leaking water continuously - a common and wasteful problem that often goes completely unnoticed.
Also check the base of the toilet where it meets the floor. Press the tissue test around the base; soft flooring or any give when you press down on the toilet can indicate a failed wax ring seal.
Check Behind and Under Appliances
Pull your refrigerator forward slightly (if it has a water or ice line) and inspect the connection at the back. Do the same for the washing machine - check both the hot and cold supply hoses where they connect to the wall valves, and look at the drain hose connection. Inspect the floor beneath and behind the dishwasher for any warping or discoloration of the flooring material.
Look at the water heater too. Puddles, rust streaks down the tank, or moisture around the base or pressure relief valve all warrant professional attention.
Scan Ceilings, Walls, and Floors for Staining
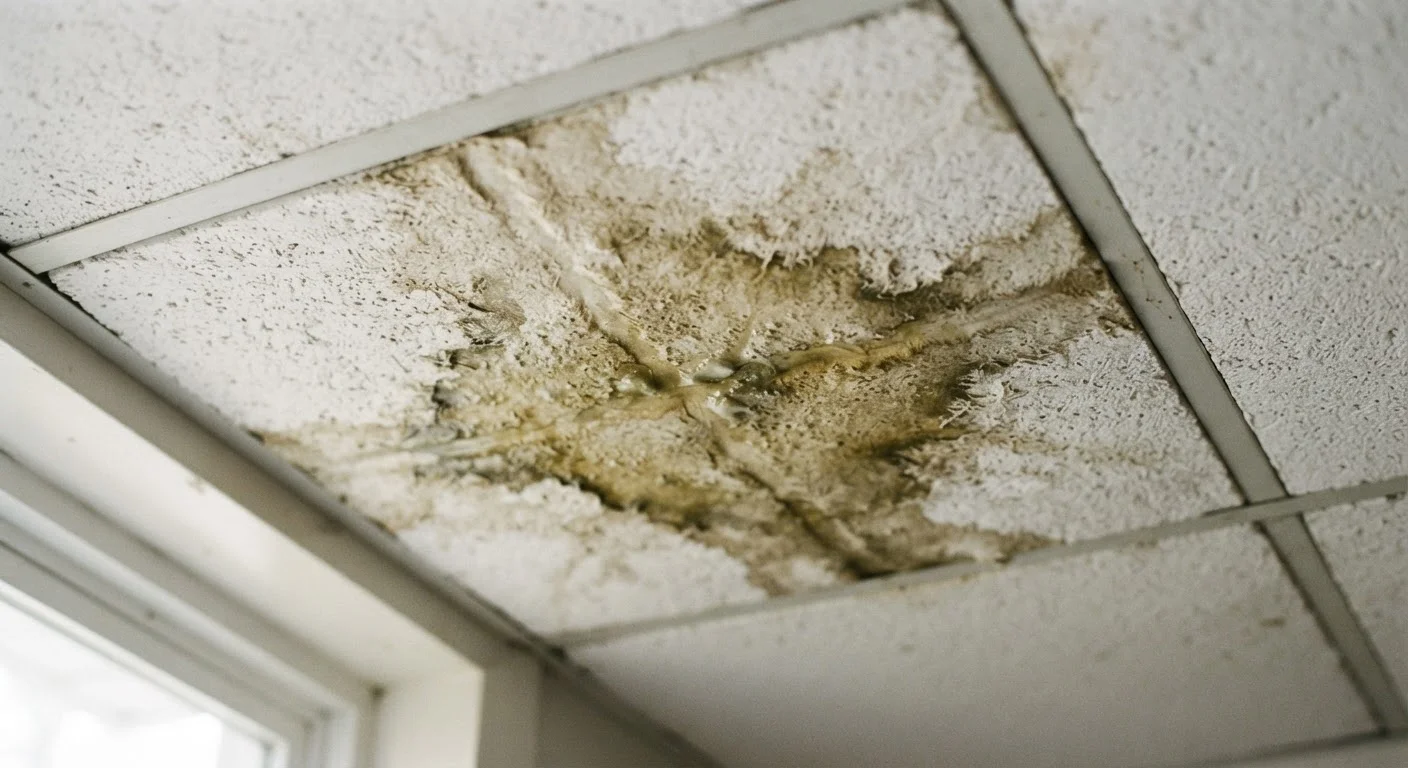
Walk through your home and look at ceilings below bathrooms or laundry areas for water stains, sagging, or bubbling paint. Check walls adjacent to plumbing runs for soft spots, peeling wallpaper, or discoloration. In homes with a crawl space, use a flashlight to look for standing water, wet insulation, or white mineral deposits (efflorescence) on the foundation walls - these indicate water intrusion.
On finished floors, pay attention to any buckling, soft spots, or grout that has cracked or separated near wet areas like bathrooms and kitchens.
Monitor Your Water Bill Monthly
An unexplained increase in your water bill - even a modest one - is often the first detectable sign of a slow leak. Compare bills month over month and season over season. If usage climbs without a clear reason (more people in the home, filling a pool, watering a garden), treat it as a leak signal and run through this inspection.
When to Stop and Call a Professional
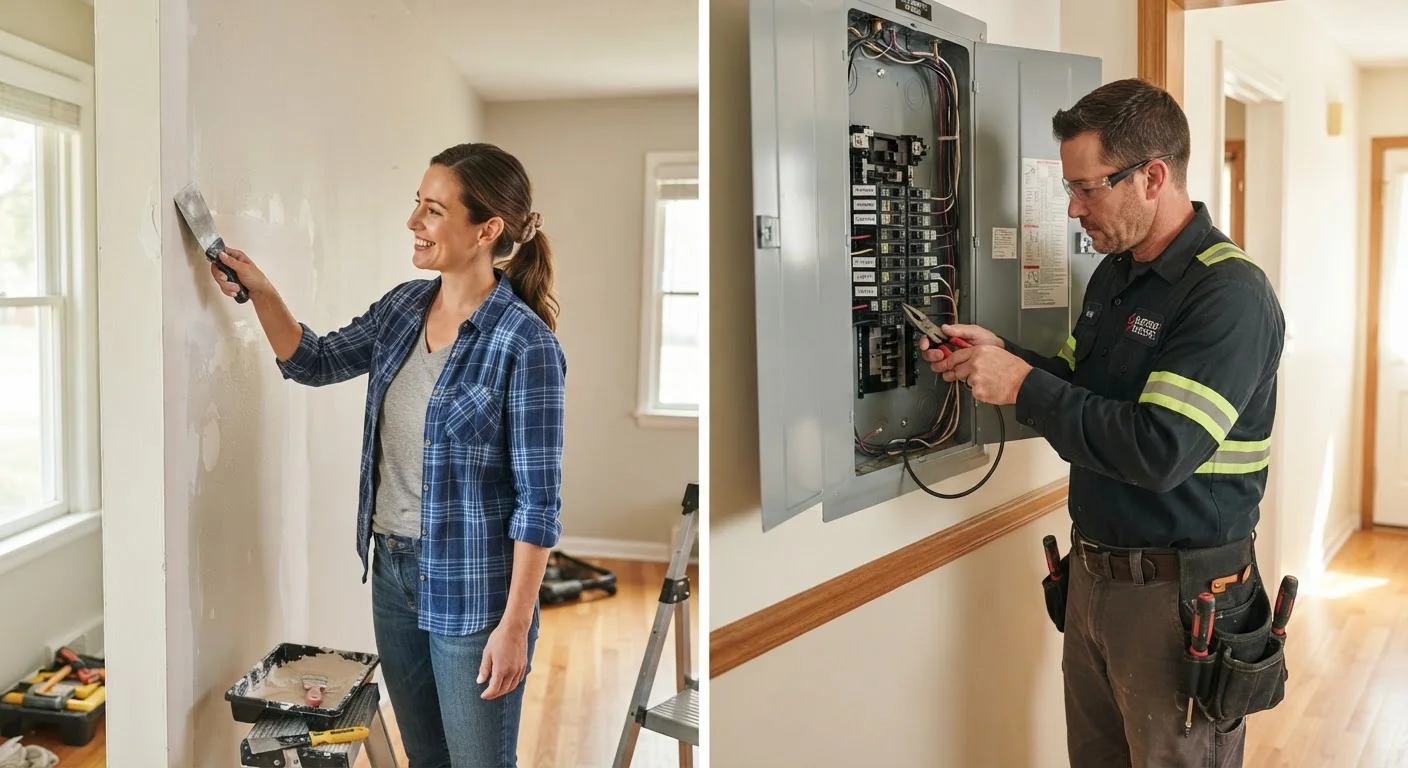
Some findings from your inspection are well within DIY territory - tightening a supply line connection or replacing a toilet flapper, for example. Others are not. If you find evidence of leaking inside walls, under a slab foundation, at the main shutoff valve, or anywhere that would require opening finished surfaces, stop and contact a licensed plumber.
Not sure what qualifies as a DIY fix? Our guide to repairs you can safely tackle vs. work that needs a pro lays out a clear framework for making that call. And if you do need to hire someone, review what homeowners get wrong when hiring contractors before you make any decisions - licensing, written estimates, and scope documentation matter.
Know Where Your Main Shutoff Is
Before any leak becomes a crisis, every adult in your household should know exactly where the main water shutoff valve is located and how to turn it off. In an active leak situation, shutting off the main supply quickly can dramatically limit damage. If you cannot locate your main shutoff, ask your water utility or a licensed plumber to show you during your next service visit.