Why Knife Skills Actually Matter
Most home cooks pick up knife habits by accident - watching a parent, copying a YouTube video, or just muddling through. The result is often slow prep, inconsistent cuts, and more close calls than necessary. Developing a few deliberate techniques changes all of that.
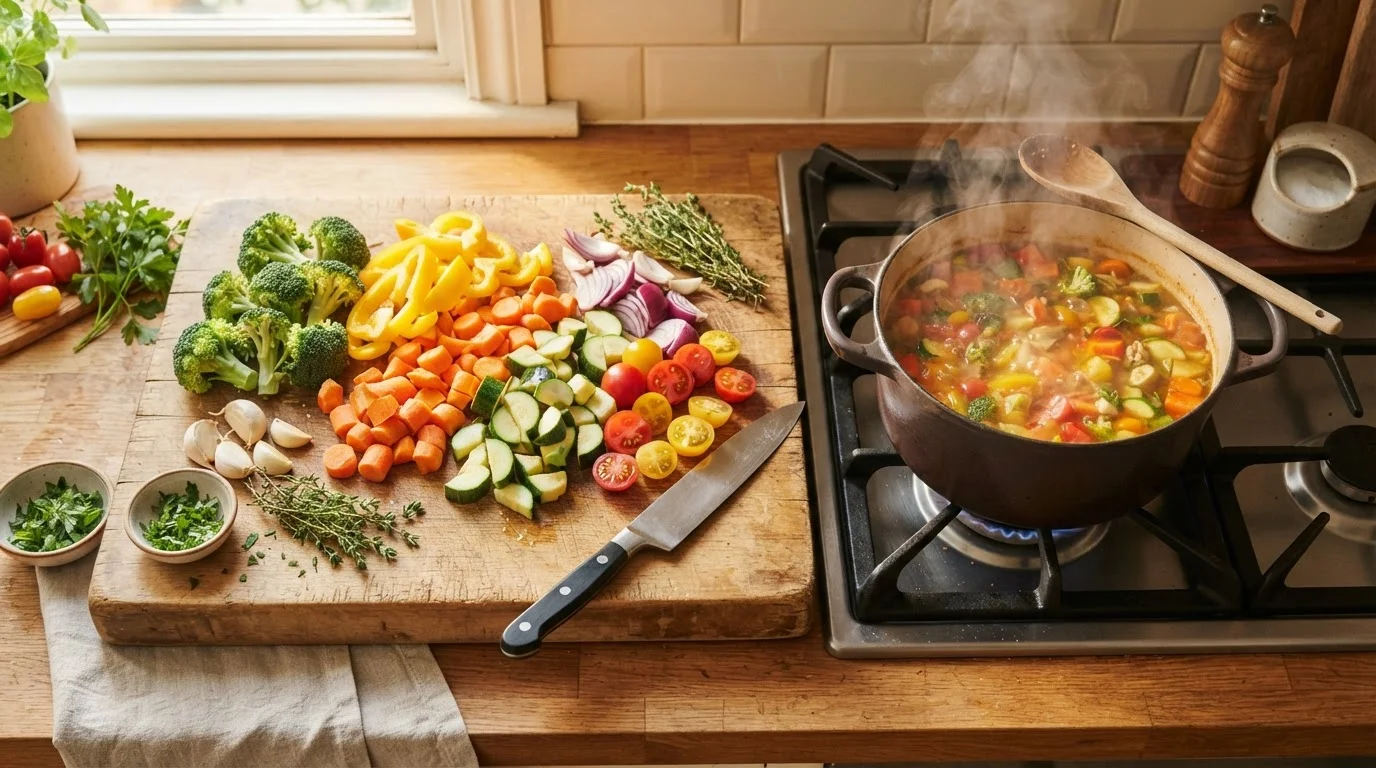
Consistent cuts aren't just about aesthetics. When vegetable pieces are the same size, they cook at the same rate. That's a key reason dishes from accomplished home cooks tend to taste better - not a secret ingredient, but uniform prep. If you've ever wondered why your stir-fry has simultaneously mushy and undercooked pieces, uneven cutting is often the culprit. See our guide to avoiding overcooked vegetables for more on how prep affects the final result.
Good knife skills also connect directly to kitchen confidence. Once you know how to break down an onion efficiently or julienne a carrot, recipes that once looked intimidating become approachable. That confidence makes it easier to cook from scratch more often - which supports the kind of varied, ingredient-forward eating that most nutrition guidance points toward.
Pinch grip
A way of holding a knife where you pinch the blade itself - not just the handle - between your thumb and bent index finger for maximum control.
Claw position
A hand position for the non-knife hand where fingertips curl inward and knuckles face the blade, acting as a guide and protecting fingertips from cuts.
Julienne
A cutting technique that produces thin, uniform matchstick strips, typically around ⅛ inch wide and 2-3 inches long.
Chiffonade
A technique for cutting leafy herbs or greens into thin ribbons by stacking and rolling the leaves, then slicing across the roll.
Honing
The process of realigning a blade's edge using a honing steel - it doesn't remove metal, but keeps the existing edge performing at its best.
Bolster
The thick junction where a knife's blade meets the handle, which provides balance and is where the fingers rest in a proper pinch grip.
The Two Grips Every Cook Should Know
Before any specific cut, grip is everything. The two foundational grips work together - one for your knife hand, one for the hand guiding the food.
The Pinch Grip (Knife Hand)
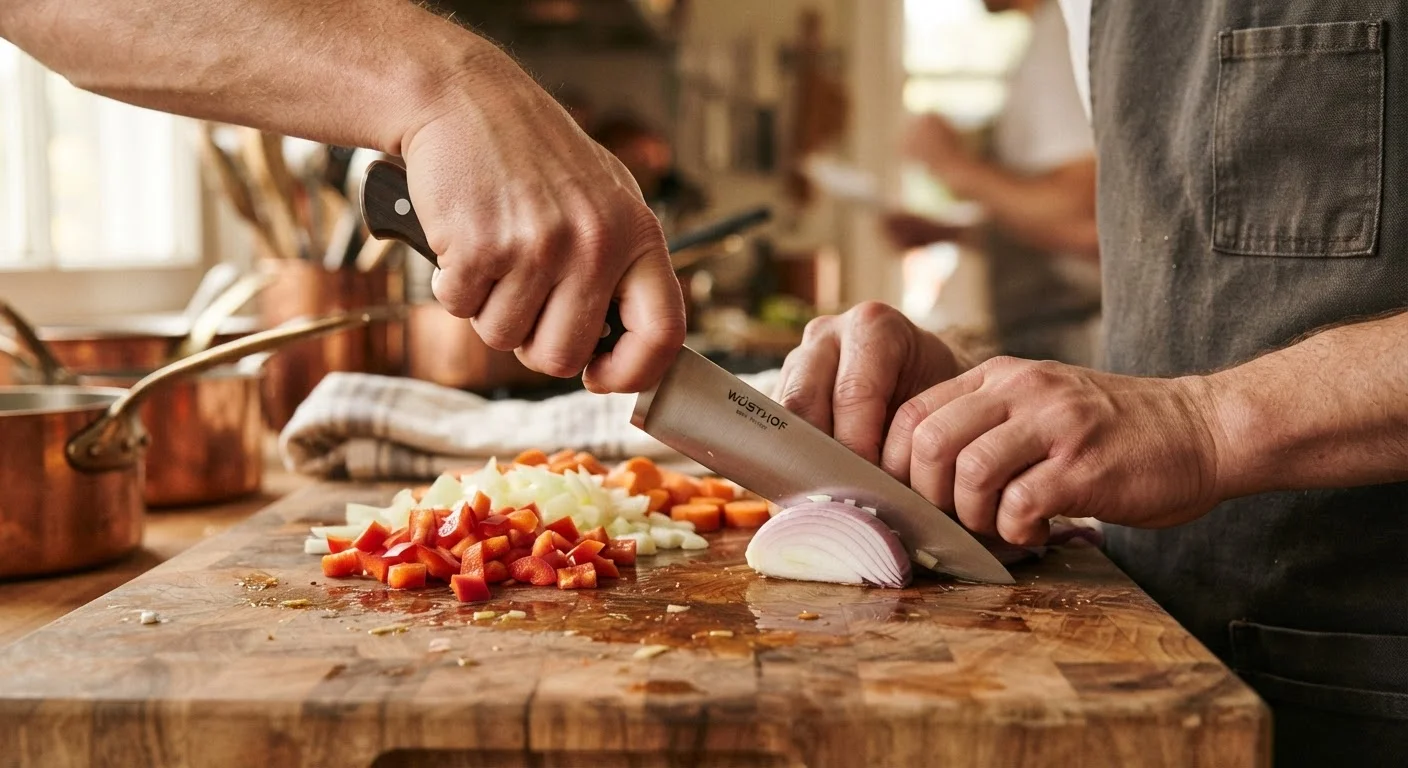
Grip the blade itself between your thumb and the side of your bent index finger, right where the blade meets the handle (called the bolster). Your remaining three fingers wrap around the handle. This may feel unnatural at first, but it dramatically lowers the knife's center of gravity, reduces wrist fatigue, and gives you precise directional control. Most people who switch to a pinch grip notice the difference within a few minutes.
The Claw (Guide Hand)
Your non-knife hand controls the food. Curl your fingertips inward so your knuckles project outward toward the blade. The flat of the knife rides along your knuckles as you cut, acting as a guide rail. Your fingertips are tucked safely behind the knuckle wall. Practice this slowly until it becomes automatic - it's the single biggest safety upgrade a beginner can make.
Practice the Claw on a Carrot First
Carrots are firm and don't roll unpredictably, making them ideal for building the claw habit. Cut a thin slice off one side to create a flat surface before you begin - this stops the carrot from rocking. Spend five minutes with just the claw grip before worrying about cut type or speed.
The Five Essential Cuts
These five cuts cover the vast majority of what any recipe will ask of you:
- Slice: A single, smooth stroke through an ingredient. Used for onions, tomatoes, mushrooms, and most proteins. Pull the knife through in a slight rocking arc rather than pressing straight down.
- Dice (small, medium, large): Begin by slicing the ingredient into planks, then cut planks into sticks, then rotate and cut across to produce cubes. Uniform sizing is the goal. Small dice is about ¼ inch; medium, ½ inch; large, ¾ inch.
- Mince: A very fine, irregular chop. After rough-chopping garlic or herbs, place your non-knife hand flat on the spine of the blade and rock it rapidly over the pile, redirecting as you go.
- Julienne: Thin matchstick cuts. Slice the ingredient into planks roughly 2-3 inches long, then cut planks into thin strips about ⅛ inch wide. Common for carrots, bell peppers, and ginger.
- Chiffonade: Used specifically for leafy herbs and greens. Stack the leaves, roll them tightly into a cylinder, then slice across the roll to produce thin ribbons. Ideal for basil and fresh mint.
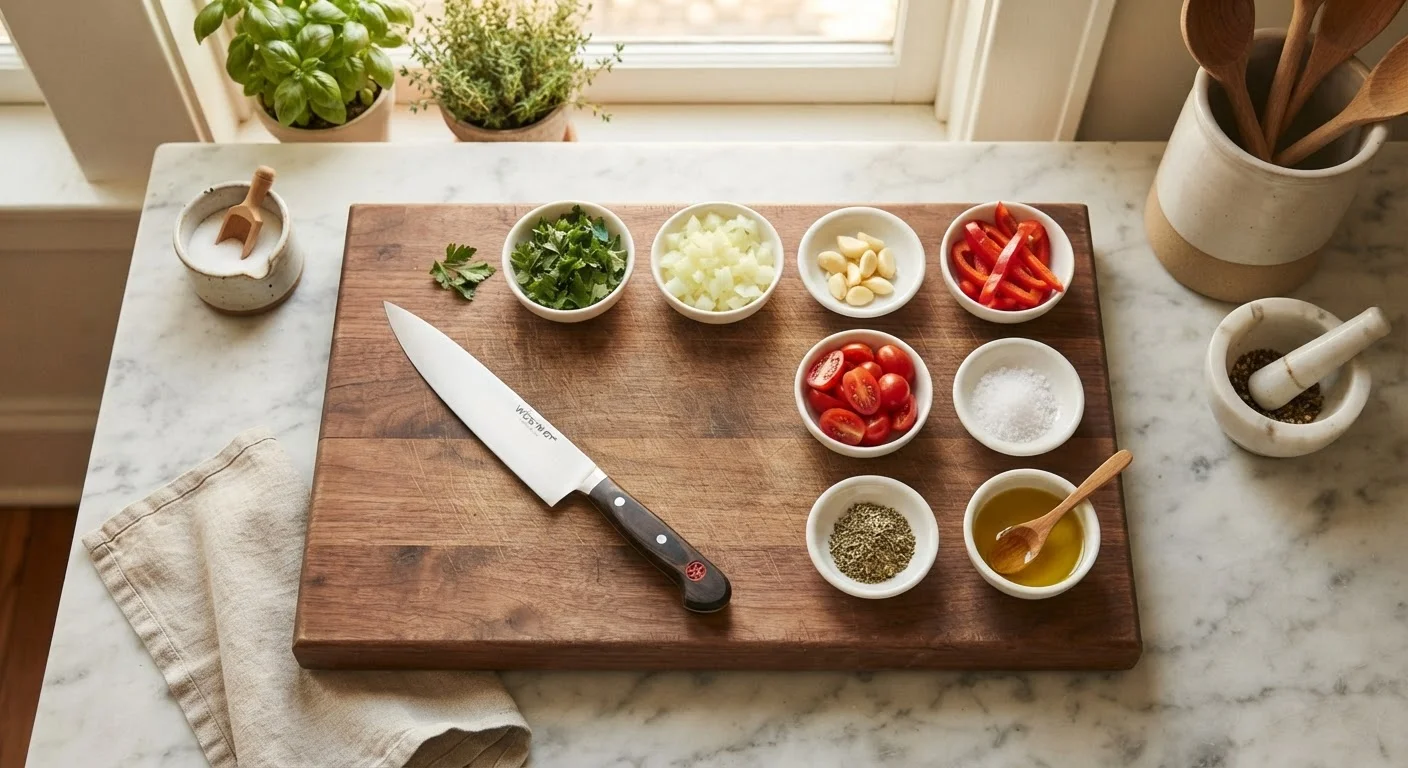
If you're building a habit of prepping ingredients before cooking, these cuts slot naturally into a weeknight mise en place routine that saves real time on busy evenings.
Keeping Your Knife Safe and Sharp
A dull knife is a dangerous knife. When a blade doesn't bite into food, you apply more force - and more force means less control if the knife slips. Keeping your edge sharp is as much a safety practice as a quality-of-life one.
Never Run a Wet Knife Into a Drawer
Storing knives loose in a drawer - especially when damp - dulls edges, damages handles, and creates a serious cut risk the next time you reach in blind. Even a basic knife block or a magnetic wall strip is a meaningful safety upgrade over a crowded utensil drawer.
Honing vs. Sharpening
Honing (using a honing steel or rod) realigns the microscopic teeth of the blade edge without removing metal. Do this frequently - even before each cooking session. Sharpening (using a whetstone, pull-through sharpener, or professional service) actually grinds away metal to form a new edge. Most home cooks need to sharpen a few times per year, depending on how often they cook.
Board and Storage Basics
- Use a wooden or plastic cutting board - glass and ceramic boards damage edges quickly.
- Place a damp towel under your board to stop it sliding.
- Store knives on a magnetic strip or in a knife block, never loose in a drawer where edges (and fingers) take unnecessary hits.
- Hand-wash knives and dry them immediately - dishwashers accelerate dulling and can cause handle damage.
Putting It All Together
Knife skills aren't a destination - they're a habit built through repetition. The most effective approach is to practice during actual meal prep rather than setting aside separate drill time. Choose one technique to focus on each week, applying it to the vegetables and proteins you're already cooking.
Start with a recipe you know well so your mental bandwidth goes to the knife work, not the dish itself. Our guide to reading a recipe before you start can help you map out what cuts you'll need before you pick up the knife. And if you're stocking your kitchen with ingredients worth practicing on, a balanced grocery checklist gives you a useful starting point for varied, practice-friendly produce.
Within a few weeks of intentional practice, most cooks notice that prep becomes quieter, faster, and noticeably more satisfying. The knife stops feeling like an obstacle and starts feeling like a tool you actually control.
This article is for general informational purposes only and is not a substitute for hands-on instruction from a qualified culinary professional. Always exercise caution when handling sharp kitchen tools.