Why Subscription Costs Are So Easy to Lose Track Of
App subscriptions are designed to feel painless. A $4.99 charge barely registers on a bank statement - until there are twelve of them. The average American consumer likely underestimates their monthly subscription spending by a meaningful margin, partly because charges arrive at different times, from different sources, and under unfamiliar merchant names.
The problem compounds because subscriptions often start as free trials, graduate to low introductory prices, and quietly increase at renewal. Services billed annually are especially easy to forget: you agreed to a charge eleven months ago and now it recurs without any new confirmation prompt. Meanwhile, apps billed directly through the App Store or Google Play are separate from services billed through a company's own website - which means no single place shows you everything.
This isn't a willpower failure. It's a design reality. Understanding that helps you approach the audit practically rather than with guilt. For a broader look at how small recurring charges accumulate, see our article on small spending leaks that quietly drain a budget.
What you will need
How to Run Your Subscription Audit
The audit below is designed to be completed in a single sitting. You'll need your payment statements, access to your app store account, and something to record your findings. Gather those now before starting.
Bank or credit card statement
Reveals recurring charges that may not appear in your app store subscription list.
Apple App Store or Google Play subscription manager
Lists all active subscriptions billed through the respective mobile platform.
Email inbox search
Surfacing subscription confirmation and renewal emails helps identify services billed outside app stores.
Spreadsheet or notes app
Tracking each subscription's name, cost, billing cycle, and usage in one place simplifies decision-making.
Pull your bank and credit card statements
Go back at least two to three months in your statements and highlight every recurring charge - monthly, quarterly, or annual. Look for small amounts ($2-$15) that repeat consistently, as these are the easiest subscriptions to forget. Note the merchant name, amount, and billing frequency for each one.
Check your app store subscription list
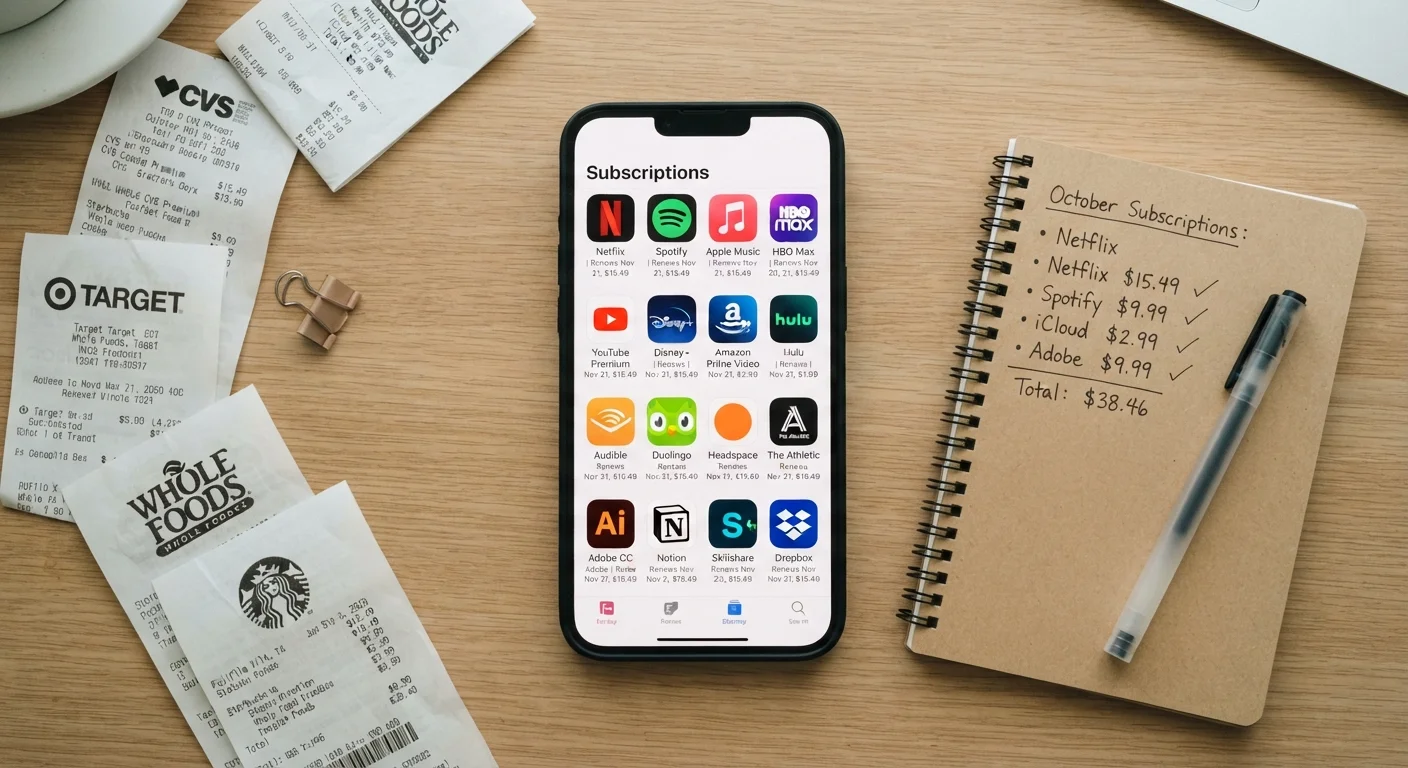
On iPhone: go to Settings → your name → Subscriptions. On Android: open the Google Play Store → Profile → Payments & subscriptions → Subscriptions. This list shows only subscriptions billed through that platform - it will not show direct-to-website or third-party billed services, which is why Step 1 matters.
Build a master list of every subscription
Combine what you found in Steps 1 and 2 into a single list. For each entry, record: the service name, the monthly equivalent cost (divide annual fees by 12), when it renews, and which payment method is charged. This gives you a complete picture of your total monthly outlay - a number many people find surprising.
Categorize by usage: essential, occasional, or unused
Go through your master list and honestly label each subscription. Essential means you use it at least weekly and it delivers clear value. Occasional means you use it monthly or less. Unused means you cannot remember the last time you opened or accessed it. Be specific - streaming services you share with others or that cover a niche interest may fall into occasional or unused faster than you expect.
Cancel or pause unused subscriptions
For everything marked unused, cancel now. Do not wait for the next billing date to "get your money's worth" - that logic is what keeps unnecessary charges running for months. Many services also offer a pause option (common with fitness and language apps) if you want to return later without losing your progress. Cancel through the original billing source: App Store, Google Play, or the service's own website or app.
Evaluate occasional subscriptions for consolidation or downgrade
For subscriptions in the occasional category, consider whether a free tier, a lower plan, or a shared family plan better fits your use. Many streaming, storage, and productivity services offer tiered pricing. A family plan shared across two to four people often costs less per person than individual plans. Check whether any services you use overlap in features - paying for two cloud storage providers, for example, may be redundant.
Set renewal reminders for what you keep
For each subscription you decide to keep, add a calendar reminder two to three days before the next renewal date. This gives you time to reassess - especially for annual plans that renew at a higher rate than when you first signed up. Annual subscriptions in particular deserve a conscious decision each year rather than a passive auto-renewal.
Free Trials Convert to Paid Automatically
Most apps convert a free trial into a paid subscription without a separate confirmation email. If you signed up for a trial and forgot to cancel, you may already be paying. Check your bank and credit card statements - not just your app store account - to catch these charges early.
Canceling Through the App Isn't Always Enough
Deleting an app from your device does not cancel the underlying subscription. You must cancel directly through the platform where you subscribed - the App Store, Google Play, or the service's own website. Failing to do so means charges continue even after the app is gone.
Making Smarter Decisions Going Forward
After completing the audit, the goal isn't just to cut spending - it's to make sure every recurring charge reflects something you actively value. A few habits help sustain that:
- Default to free tiers first. Try the free version of any new app before upgrading. Many services offer enough functionality at no cost for casual use.
- Use a dedicated card for subscriptions. Routing all recurring charges to a single payment method makes future audits much faster and reduces the risk of missing a charge buried among unrelated transactions.
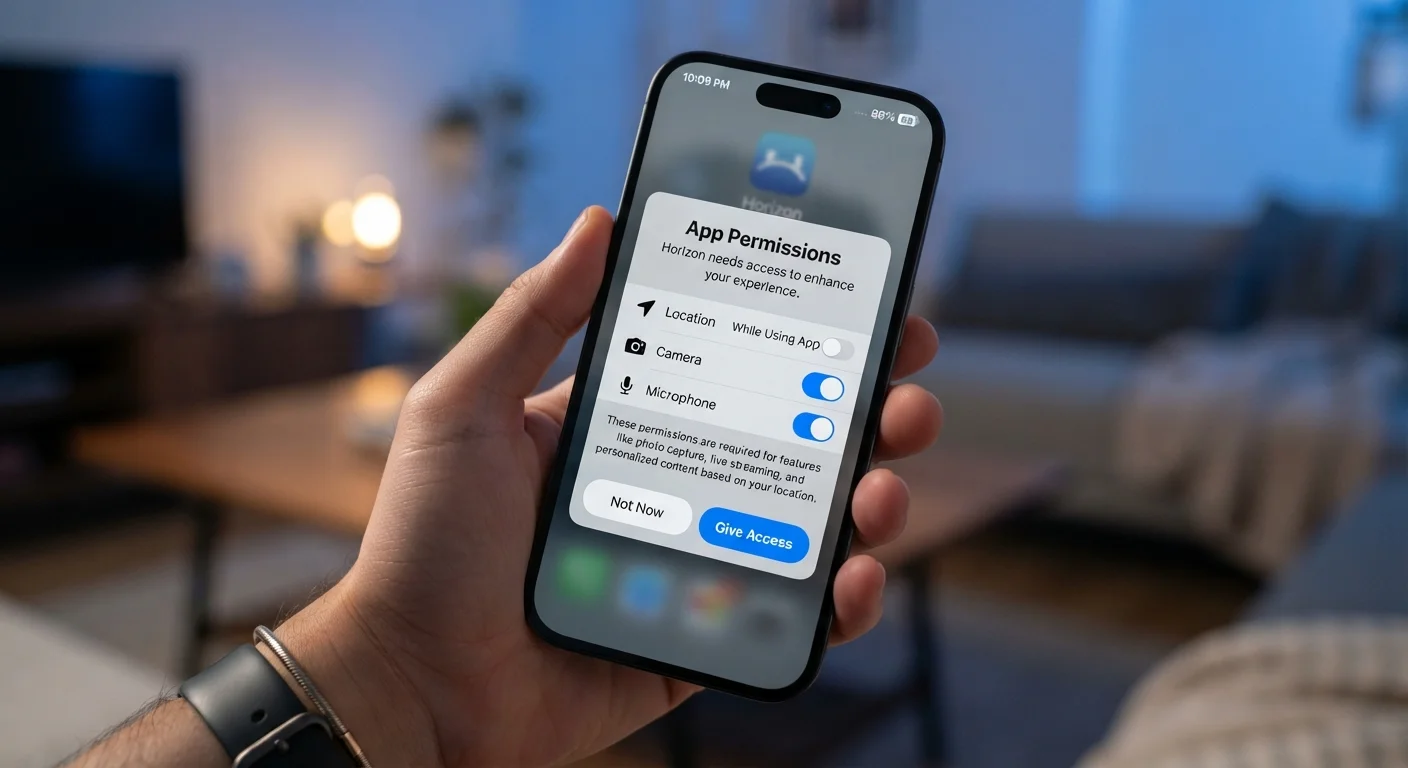
- Review app permissions alongside subscriptions. Apps you pay for often request broad access to your device. Our guide on what app permissions actually access explains how to manage these settings confidently.
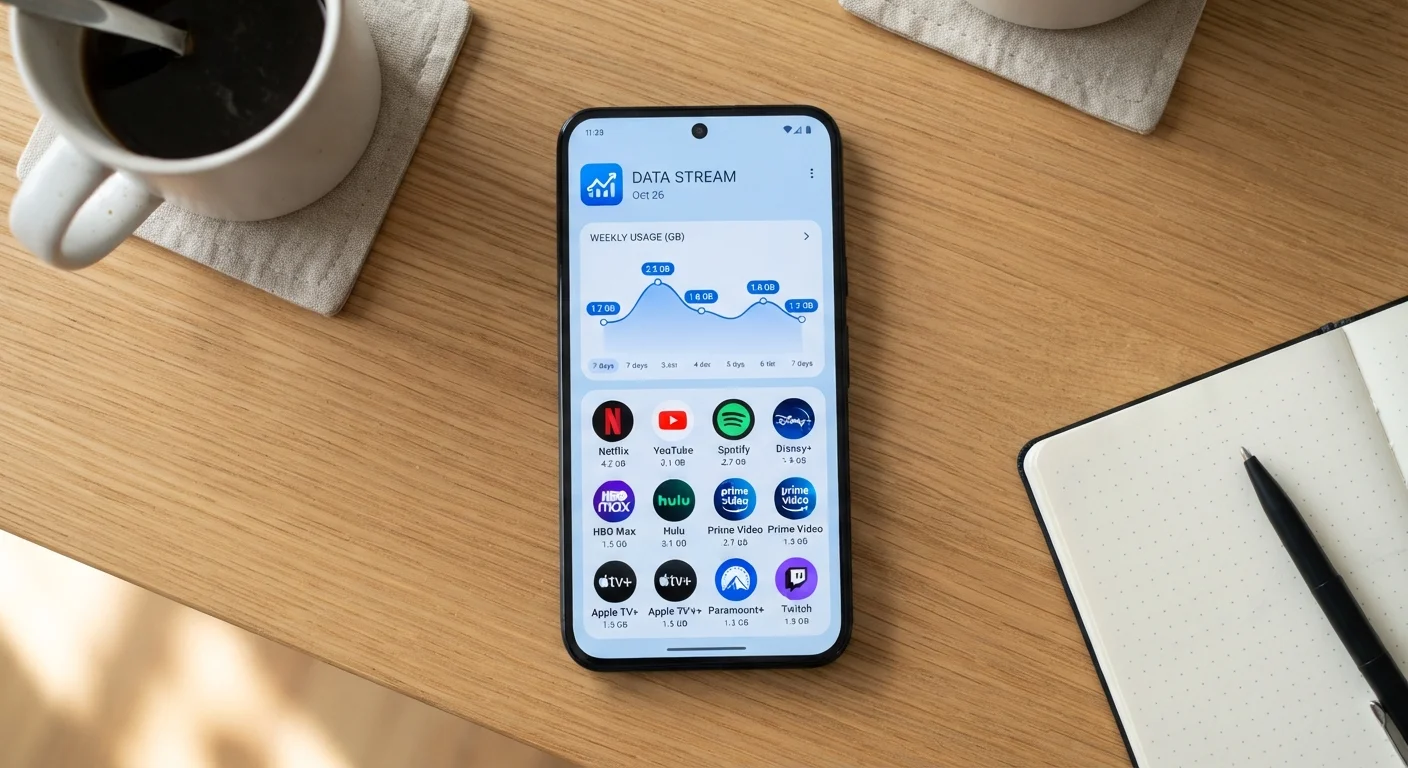
- Consider data usage for streaming apps. If you're paying for multiple streaming services, understanding how streaming apps consume data can also help you decide which ones justify the cost on your plan.
Schedule an Annual Subscription Review
Set a recurring calendar reminder once a year - or after any major life change like a new job or move - to re-run this audit. Subscriptions accumulate gradually, and a yearly check keeps your app spending aligned with what you actually use.
Running this kind of audit alongside a broader digital check-up is worthwhile. The Online Safety Audit checklist covers app permissions and account access in addition to spending - a useful companion review. For broader budgeting strategies, the Budgeting Basics hub offers practical frameworks for tracking all your spending, not just subscriptions.