The Variable Your Recipe Can't Control
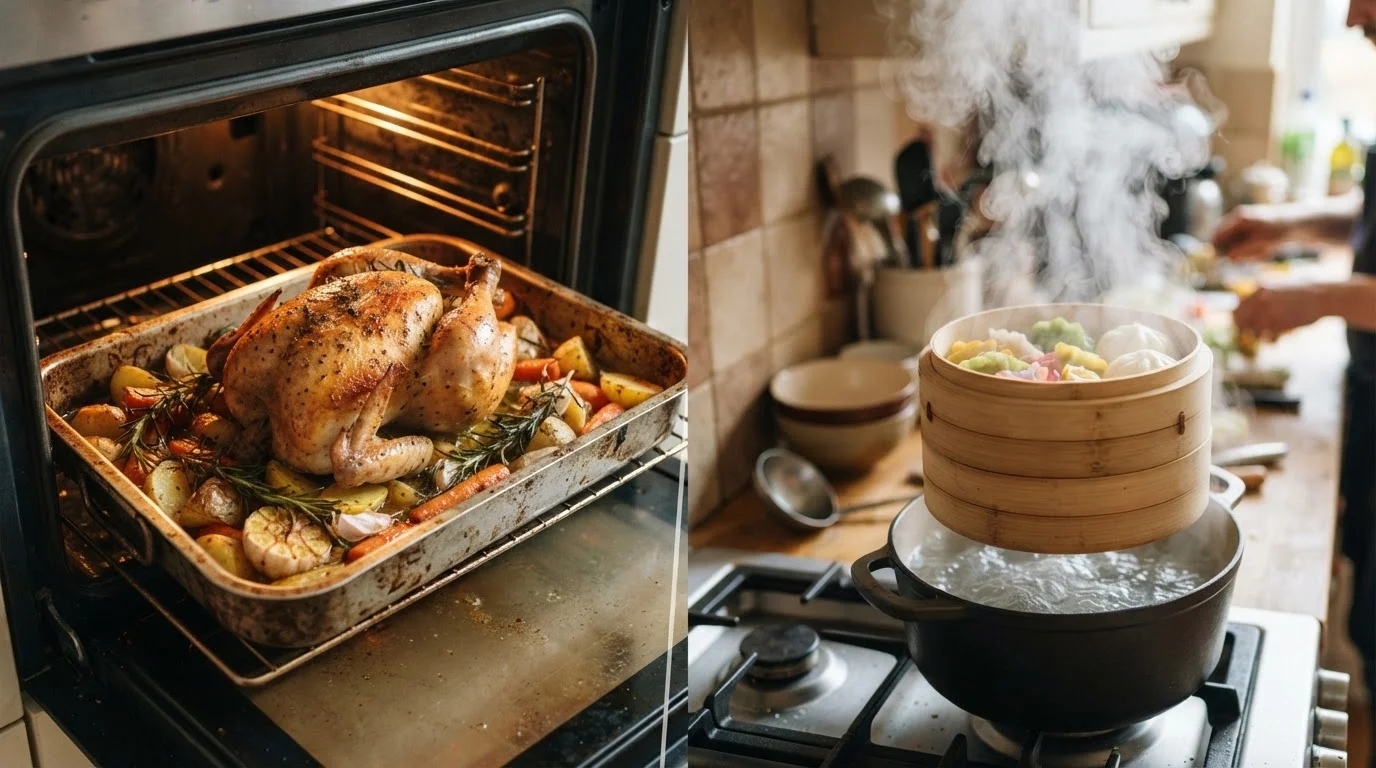
Recipes specify ingredients, timing, and technique - but they cannot control your stove's BTU output, the thickness of your pan, or whether your chicken breast came straight from the refrigerator. These factors collectively determine actual pan temperature, which is the single biggest lever in cooking outcomes that most home cooks leave to chance.
When a recipe says "cook over medium-high heat for 4 minutes per side," that instruction is a starting point, not a guarantee. A thin aluminum pan on a weak electric burner at "medium-high" delivers a completely different heat environment than a cast iron skillet on a commercial gas range at the same dial setting. Understanding what heat actually does to food - rather than just following a dial - is what separates confident cooks from frustrated ones.
For more on reading between the lines of a recipe, see how to mentally map a recipe before you start.
What Heat Does to Food: The Maillard Reaction
The most important cooking reaction most people have never heard of is the Maillard reaction - the chemical process between amino acids and sugars that creates browning, crust, and the complex flavors associated with seared meat, toasted bread, and roasted vegetables. It begins around 280-330°F (140-165°C) at the food's surface.
Here's the critical implication: if your pan isn't hot enough, that reaction doesn't happen. Instead of a golden crust, you get gray, moisture-laden food sitting in steam. This is why a cold or under-preheated pan is the root cause of so many cooking frustrations - the food releases moisture faster than the pan can evaporate it, and everything goes sideways from there.
280-330°F
Surface temperature needed for browning
The Maillard reaction, which creates browning and complex flavors, requires this temperature range at the food's surface, according to established food science literature.
~30-50°F
Pan temperature drop when food is added
Adding cold or wet food to a pan can cause a rapid, significant temperature drop - one reason thorough preheating and dry food surfaces are consistently emphasized by culinary professionals.
Understanding this reaction also explains why patting meat dry before cooking makes such a difference - surface moisture must evaporate before browning can begin, and every drop of excess water delays the process. See how dry heat and moist heat methods affect food differently for a broader look at how these principles apply across techniques.
Pan Material Changes Everything
Different pans respond to heat in fundamentally different ways, and knowing your pan's behavior is as important as knowing your recipe.
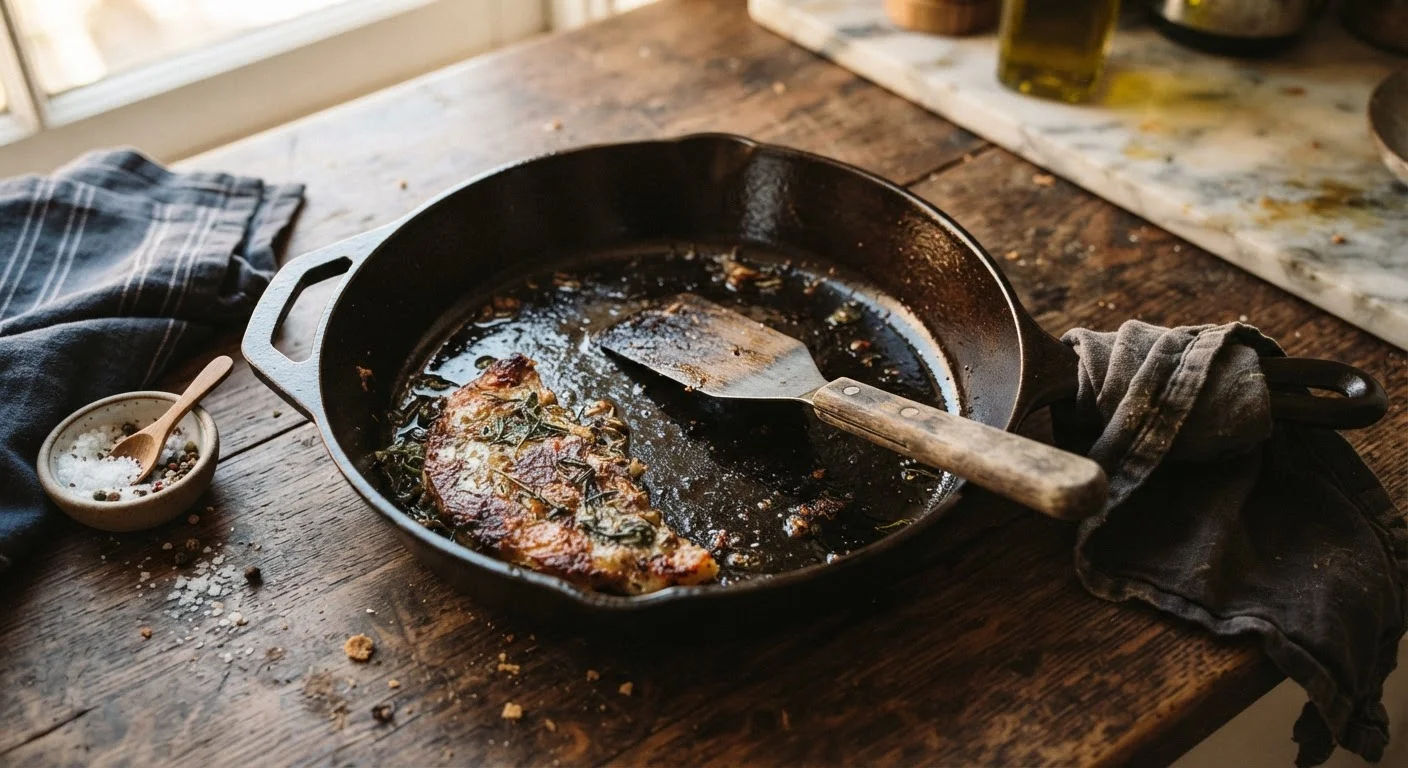
- Cast iron and carbon steel heat slowly but retain heat exceptionally well. Once hot, they maintain temperature even when cold food hits the surface - ideal for hard sears. They also heat unevenly, so proper preheating time matters more here than with other materials. How cast iron seasoning works explains the chemistry that makes these pans increasingly nonstick over time.
- Stainless steel responds quickly to burner changes, making it useful for building sauces and adjusting heat on the fly. It has lower heat retention than cast iron, so it loses temperature faster when food is added.
- Nonstick pans are designed for moderate, controlled heat. Exceeding medium heat consistently degrades the coating and reduces the pan's effective lifespan.
Give Your Pan Time to Preheat Fully
For most stovetop searing, place the empty pan on the burner for 2-4 minutes before adding fat or food. Cast iron may need 5 minutes or more. This allows the entire surface - not just the center - to reach a consistent temperature, which reduces hot spots and produces more even browning across the food.
Understanding your pan's thermal personality lets you preemptively adjust - giving cast iron longer to preheat, turning down the burner slightly before adding food to stainless, or keeping nonstick heat measured and steady.
Reading the Pan: Sensory Cues That Replace Guesswork
You don't need a thermometer to manage pan temperature effectively. The pan tells you what you need to know if you pay attention.
- The water drop test
- A single drop of water flicked into the pan: if it evaporates immediately with a sharp crack, the pan is hot. If it sizzles and lingers, the pan needs more time.
- Oil shimmer
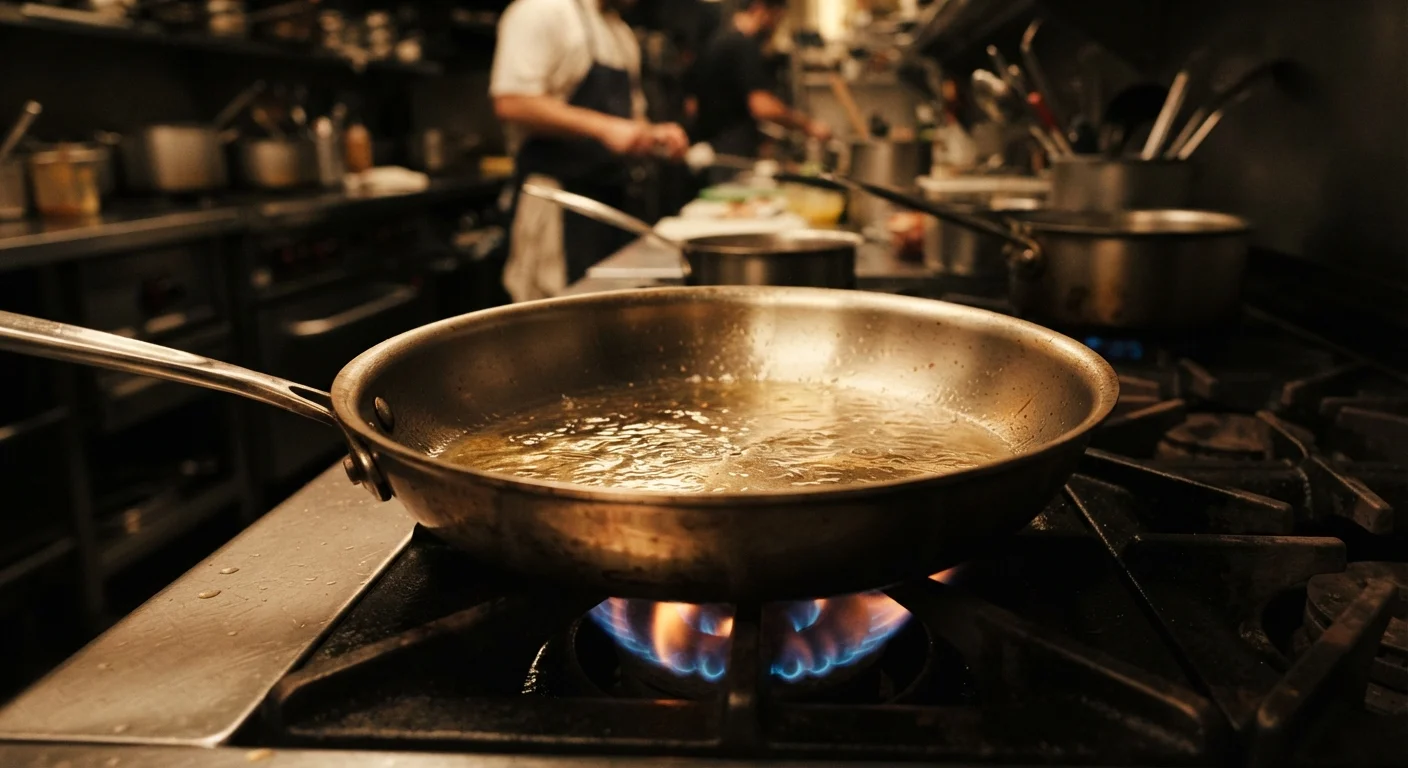
- When oil moves across a hot pan with fluid, almost liquid-like ripples, it's ready. This shimmer indicates the oil has thinned with heat and the pan surface is in the right zone for most sautéing and searing.
- The smoke signal
- Light wisps of smoke mean you're at the upper edge of useful heat for most cooking fats. At this point, add food promptly or reduce heat - sustained smoking degrades the fat and can affect flavor.
- The sizzle on contact
- When food hits a properly heated pan, it should sizzle aggressively on contact. A weak, quiet sizzle means the pan temperature dropped significantly - often because the pan wasn't hot enough to begin with, or because too much food was added at once.
Crowding deserves special mention: adding more food than the pan can handle causes an immediate temperature drop, and the food ends up steaming in its own moisture rather than searing. Cook in batches if needed - it's one of the most impactful habits a home cook can develop. Before you even heat the pan, having your ingredients prepped and ready makes temperature management far easier. A simple mise en place routine ensures you're never scrambling while your pan is already at temperature.
This article is for general informational and educational purposes only. Cooking times and temperatures vary by equipment, ingredient, and individual circumstance. Always use a food thermometer to verify safe internal temperatures for meat and poultry.